007 First Light Photo Mode: Camera and Capture Tips
Open the live Photo Mode, understand its seven tabs, and build repeatable shots with field of view, focus, lighting, filters, frames, and Bond poses.
Quick answer: Photo Mode arrived with Extended Operations update 1.3.0. It freezes the scene, keeps your parameters when you leave, and lets you experiment without a film limit.
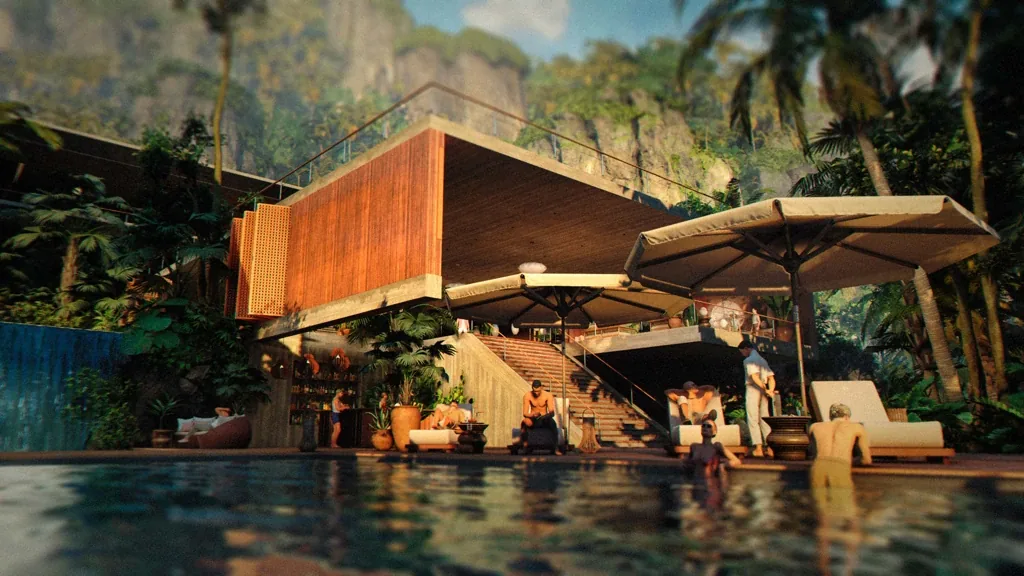
007 First Light photo mode quick facts
Short answer
Is 007 First Light Photo Mode available?
Yes. 007 First Light photo mode is a live feature in the free Extended Operations content released with update 1.3.0. The official IO Interactive feature article describes a full camera mode rather than a simple screenshot button: the game pauses, you can move the camera, and you can tune the image before using your platform's normal capture command. The update also makes it possible to revisit campaign and TacSim scenes with new poses and outfits, so Photo Mode has a useful role after a first playthrough.
Open it from the Pause menu when a scene is ready, or assign it to a button in Customise Input if you want to catch an action moment quickly. The feature is designed for experimentation. There is no film counter, and the official description says parameters are saved when you leave Photo Mode. That means you can build a portrait setup, return to the action, and refine the same look later instead of recreating every setting from memory.
This guide focuses on the camera task itself. It does not replace the gameplay guide's stealth and combat advice, the gadgets page's Q-Branch comparisons, or the New Game Plus page's progression status. Use those pages for how to reach a scene; use this page for how to frame and capture it once the scene is on screen.
How to open Photo Mode and read the seven tabs
The official feature notes group the controls into a small set of photography jobs. The labels can vary slightly by platform, but the purpose of each group stays consistent. Start with the utility controls, then move from camera placement to image treatment instead of changing every slider at once.
| Control group | How to reach it | Best use | Watch for |
|---|---|---|---|
| Utility | Pause the game and choose Photo Mode, or use your custom bind. | Freeze a clean moment and hide interface elements before composing. | Some scripted transitions may finish before the pause opens. |
| Camera | Move, rotate, roll, and adjust the lens controls. | Choose the viewpoint, horizon, and distance that tell the story. | A dramatic angle still needs a readable subject and background. |
| Image | Open brightness, saturation, and post-processing options. | Balance a dark interior or create a controlled monochrome look. | Heavy effects can hide facial detail and environmental clues. |
| Frame | Select background or logo presentation options. | Give a finished capture a clean border or a deliberately cinematic shape. | Use a frame only when it supports the image rather than competing with it. |
| Effects | Choose vignette, film grain, letterbox, blur, or colour filters. | Direct attention and establish a mood after the composition works. | Effects cannot fix a subject that is out of focus or badly placed. |
| Lighting | Place up to four additional lights and tune their position. | Separate Bond from a dark room or lift a face without flattening the scene. | More lights are not automatically better; keep a believable key direction. |
| Pose | Choose a Bond pose or hide the character when the location is the subject. | Turn a normal pause into a portrait, action still, or environment study. | Pose availability can depend on the current gameplay context. |
If you are unsure where a setting lives, return to the tab names rather than changing every value. A repeatable order makes a second shot faster and keeps the result easier to compare.
Camera, focus, field of view, and depth of field
Camera controls decide what the viewer notices before any filter is applied. Make one framing decision at a time: viewpoint, lens, focus, then horizon. The official guide gives photography-friendly defaults that are useful even if you have never adjusted a virtual camera.
Start with the subject and horizon
Move the camera until Bond, the target prop, or the location has a clear job in the frame. Check vertical lines and the horizon before adding a dramatic roll. A level shot is a reliable baseline; a small roll can suggest speed, danger, or disorientation when the scene supports it.
Use field of view as a distance tool
Lower field of view values work well for portraits because they keep attention on a face or pose. Higher values reveal more architecture, roads, and landscapes. Do not treat FOV as a quality slider. Change it to match the scale of the story you want the image to tell.
Let auto-focus establish a starting point
Auto-focus is useful when Bond and the background are close together. Set it first, then check the eyes, hands, weapon, or mission prop that should remain sharp. If the wrong plane is crisp, move the focus manually rather than adding blur to hide the mistake.
Use depth of field with restraint
A low aperture creates more blur and can isolate Bond from a busy room. It also removes readable context quickly. For a portrait, keep the eyes sharp and let the far background soften. For a puzzle, objective, or location guide, raise the aperture so the clue stays legible.
Check roll and camera height last
A low camera can make a figure feel imposing, while a high angle can make the same space feel observed. Roll is strongest as a small finishing adjustment. Save an ordinary level version first so you can compare the mood change instead of losing a useful reference.
Lights, filters, frames, and Bond poses
Once the camera is stable, use the creative tools to control attention. Photo Mode supports up to four extra lights, several cinematic effects, and a broad set of poses. The safest workflow is to make a readable neutral capture first, then add style in small steps so you can undo a choice that hides useful detail.
Build one believable key light
Place the first light where a real lamp, window, or street source could plausibly sit. A soft side light can separate Bond's face from a dark background; a front light can flatten the suit. Add a second light only when the subject still disappears.
Use the third and fourth lights as accents
Small edge or background lights are useful for a silhouette, a weapon outline, or a bright prop. Keep their intensity subordinate to the main light. Four lights can create a polished still, but they can also erase the original scene's atmosphere if all four are equally strong.
Treat saturation and filters as a final pass
A saturation value of zero opens a black-and-white look, while colour filters can shift the mood of a scene. Check skin, clouds, and practical lights after every change. If you cannot tell what the scene is about, return to a neutral image before trying another filter.
Choose vignette, grain, and letterbox for a reason
Vignette can guide the eye, film grain can soften a clean digital image, and letterbox can suggest a film frame. These tools are supporting accents, not replacements for framing. Use one or two lightly before stacking several effects.
Use poses to create a clear action
A pose should explain what Bond is doing: observing, waiting, moving, or confronting a threat. Hide Bond when the location or architecture is more interesting. The official coverage calls out a range of poses, including the meme-friendly Absolute Cinema pose, but a quieter pose often produces the more useful guide image.

Four repeatable 007 First Light photo mode shot recipes
These recipes are starting points, not required presets. They use the official controls without claiming that one setting is correct for every mission. Save a neutral version before styling the final capture.
Portrait: eyes first, background second
Choose a calm pose, lower the field of view, and use auto-focus before checking the eyes. Add a gentle side light if the face blends into the room. Keep depth of field low enough to soften distractions, but high enough that the hairline and expression remain readable. A mild vignette is usually enough; skip heavy grain.
Action: show the movement line
Pause during a chase or combat beat, then place the camera slightly ahead of the motion. A wider field of view can include the road, cover, or enemy space that explains the action. Use a small roll only if it reinforces speed. Add a short letterbox or restrained blur after the subject and direction are clear.
Environment: let the location carry the frame
Hide Bond or move him to the edge, raise the field of view, and use a higher aperture so architecture stays sharp. Look for leading lines such as stairs, roads, railings, or windows. One warm light can guide the eye; do not cover the entire environment with extra lights.
Black and white: protect shape and contrast
Set saturation to zero only after the composition works in colour. Increase contrast through light placement rather than extreme filters, and keep a readable separation between suit, face, and background. Black and white is strongest when the frame already has a clear silhouette, texture, or geometric pattern.
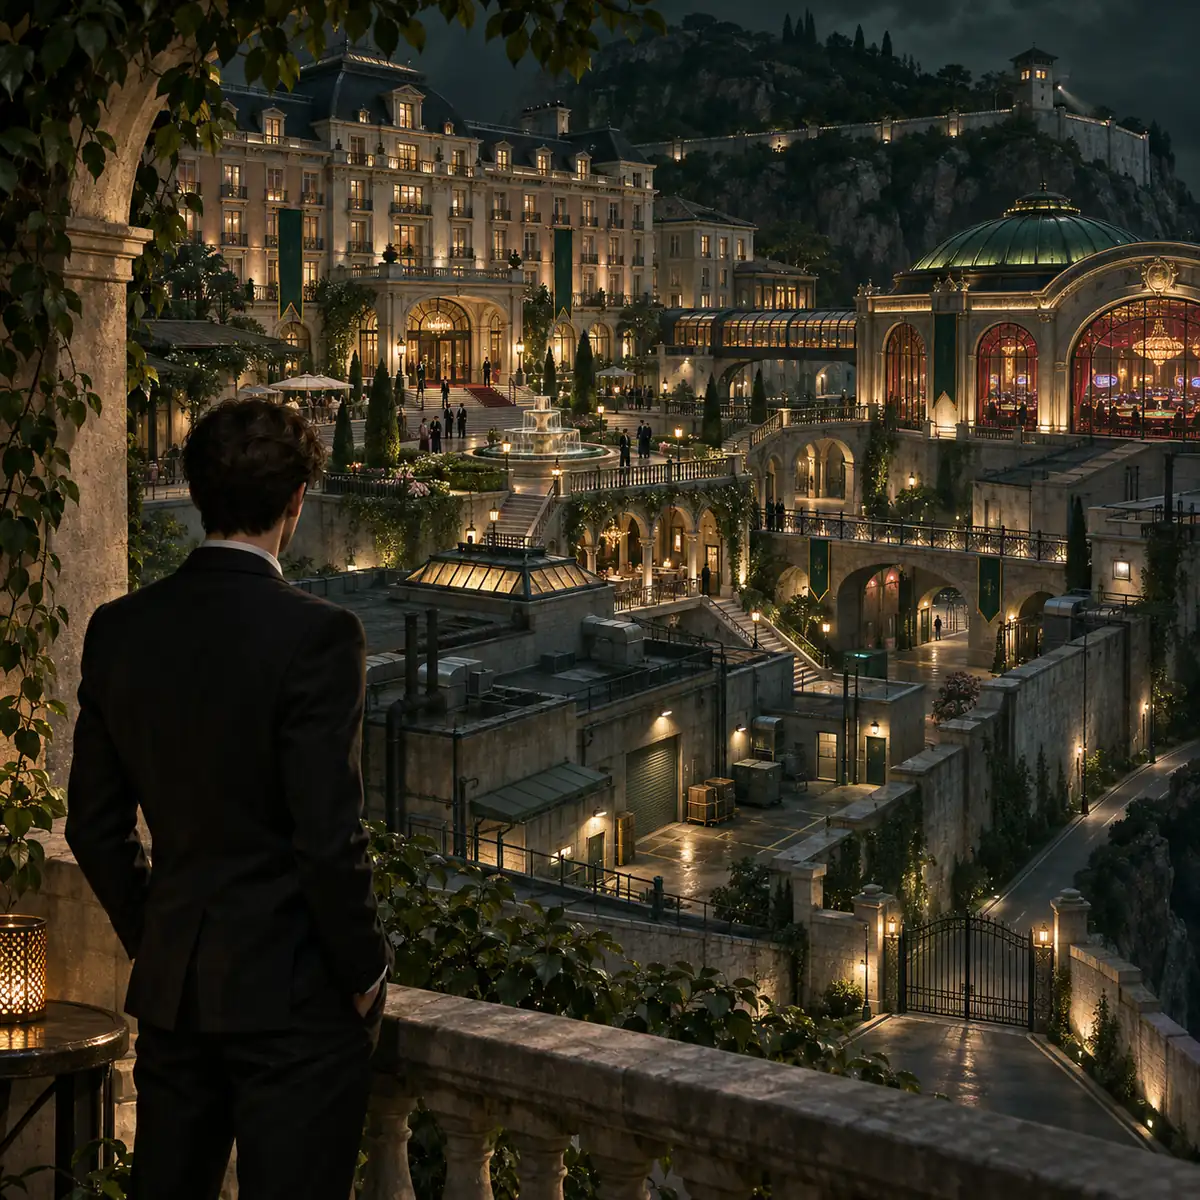
Capture workflow, limits, and safe expectations
Photo Mode changes the scene, not the mission objective. It is a presentation layer: the game is frozen while you compose, and the resulting file still depends on your platform's screenshot or capture command. Use the controls page if you need a button map, and check your console or PC capture settings for file location, resolution, and sharing behavior. Those storage rules are platform features, not claims made by the Photo Mode article.
The feature is flexible, but not every moment is equally useful. Menus, transitions, heavy effects, or a moving camera can produce a frame that looks dramatic but communicates little. Treat a screenshot as successful when another player can tell the subject, location, and intended action without your caption doing all the work. Keep a clean version for guide use and a stylized version for social sharing when both are worth saving.
Set the scene before pausing
Choose a safe moment, wait for a readable pose or action, and avoid pausing during a transition if you need a stable subject.
Hide UI before the final check
Remove interface elements, then inspect edges, subtitles, objective text, and accidental markers that could distract from the image.
Save a neutral reference
Because parameters are saved when leaving Photo Mode, a neutral reference gives you a reliable baseline for later experiments.
Capture through the platform
Use the normal PlayStation, Xbox, Switch 2, or PC capture shortcut for the device you are using. Do not assume a universal save folder or file format.
Recheck updates for new controls
Photo Mode shipped in update 1.3.0. Later patch notes may change a control, add a pose, or adjust a visual effect, so use the official update page when a behavior differs.
Official sources and update boundary
The feature facts below come from IO Interactive's October 2026 Photo Mode article and Extended Operations announcement. Editorial shot advice is separated from those confirmed claims. Use the official pages again when a later patch changes the mode.
007 First Light photo mode FAQ
How do you open Photo Mode in 007 First Light?
Pause the game and choose Photo Mode. The official feature page also says you can assign Photo Mode to a button through the Customise Input menu for faster access.
When was Photo Mode added to 007 First Light?
Photo Mode was added with the free Extended Operations content in update 1.3.0, released on October 1, 2026. Check later official patch notes for changes.
How many Photo Mode controls or tabs are there?
IO Interactive describes seven tabs of options covering utility, camera, image, frame, effects, lighting, and poses. Labels can vary by platform, but those are the jobs the groups perform.
Can you change Bond's pose in Photo Mode?
Yes. The official guide says Bond can take a range of dramatic poses or be hidden to showcase the environment. Pose availability can depend on the current gameplay context.
What is the best FOV for a 007 First Light portrait?
A lower field of view is a useful starting point for portraits because it keeps attention on Bond. Use a higher FOV when the subject is a road, room, or landscape, then check focus and background detail.
Does Photo Mode have a screenshot limit?
The official feature description says there is no film to run out of, so you can experiment freely. The actual image file, resolution, and storage location still depend on your platform capture system.
Does Photo Mode work in missions and TacSim?
The official article says poses can be changed during most gameplay and highlights campaign and TacSim scenes. A scripted transition or restricted moment may still limit when the pause menu opens.
Is this an official 007 First Light Photo Mode page?
No. 007firstlight.blog is an independent fan wiki. The confirmed feature facts link to IO Interactive, while the shot recipes and explanations are editorial guidance.